Timeline
This workspace is dedicated to display tasks and define schedules.
It's working like in a Spreadsheet, where you can add number in days to assign time to a task. Aquarium is working the same way:
- You can paint days to assign time to a task
- Choose between painting
daysorhours - Expand/shrink tasks like in a Gantt chart
- And much more...

- Add your columns: Define the columns you want to see in your workspace. You can choose between our presets or create your own custom column. To create a custom column, follow our guide.
- Choose your tool: Enable the tools you want to use in your schedule:
- Move: Allow you to move across time or if some days are selected move the selected days
- Select: Allow you to select a range of days. You can also double-click on a task to select all days of the task directly. Double-click after/before task to unselect all. Use
SHIFTorCTRLto select multiple ranges/tasks. - Add: Allow you to "paint" time assignments by clicking or "painting" over the cells. You can right click on a cell to remove the time assignment instead.
- Remove: Allow you to remove time assignments and dependencies.
- Linking: Allow you to create dependency links between tasks. Enable this tool and drag n drop a task on another to create a dependency.
- Show dependencies: Enable this option to visualize the dependencies between tasks
- Click on the icon to access the settings of the timeline
- The timeline: Each cell correspond to a day. Be default the number is in
daybut you can switch tohourfrom the settings.
You can use keyboard shortcuts to quickly select the tool you want:
ESCfor MoveSfor SelectAfor AddRfor RemoveLto link tasks and create dependenciesTto center the view on TodayDto show/hide dependenciesJto show/hide the timelogsWto show/hide the workload
If you want to display more days in the calendar, you can expand the size of the column called "Timeline", by dragging the handle located at the end of the column.
Select a task
You can click on a task to select it and display it's content in the sidebar.
By using a drag n drop mouse gesture, you can move the all task to another date.
Grow and shrink your tasks
By hovering a task, you can grow or shrink its duration. Grab the handle located at the beginning or the end of the task and drag it to the desired date.
Checkout general information about workspace to know how to filter, sort, and group your data.
Setup recurring tasks
By selecting tasks, you can setup there recurrence. Select Set recurrence from the bufferzone.
From this interface, you can define if the task need to repeat every day of the week, starting from a specific date, and for how long. You can also define it's daily duration.
If you enable Replace existing timeline, the task's timeline will be replaced by the new recurrence. If you disable it, the recurrence will be added to the existing timeline.
Timeline settings
By clicking on the icon in the bufferzone, you can access the timeline settings:
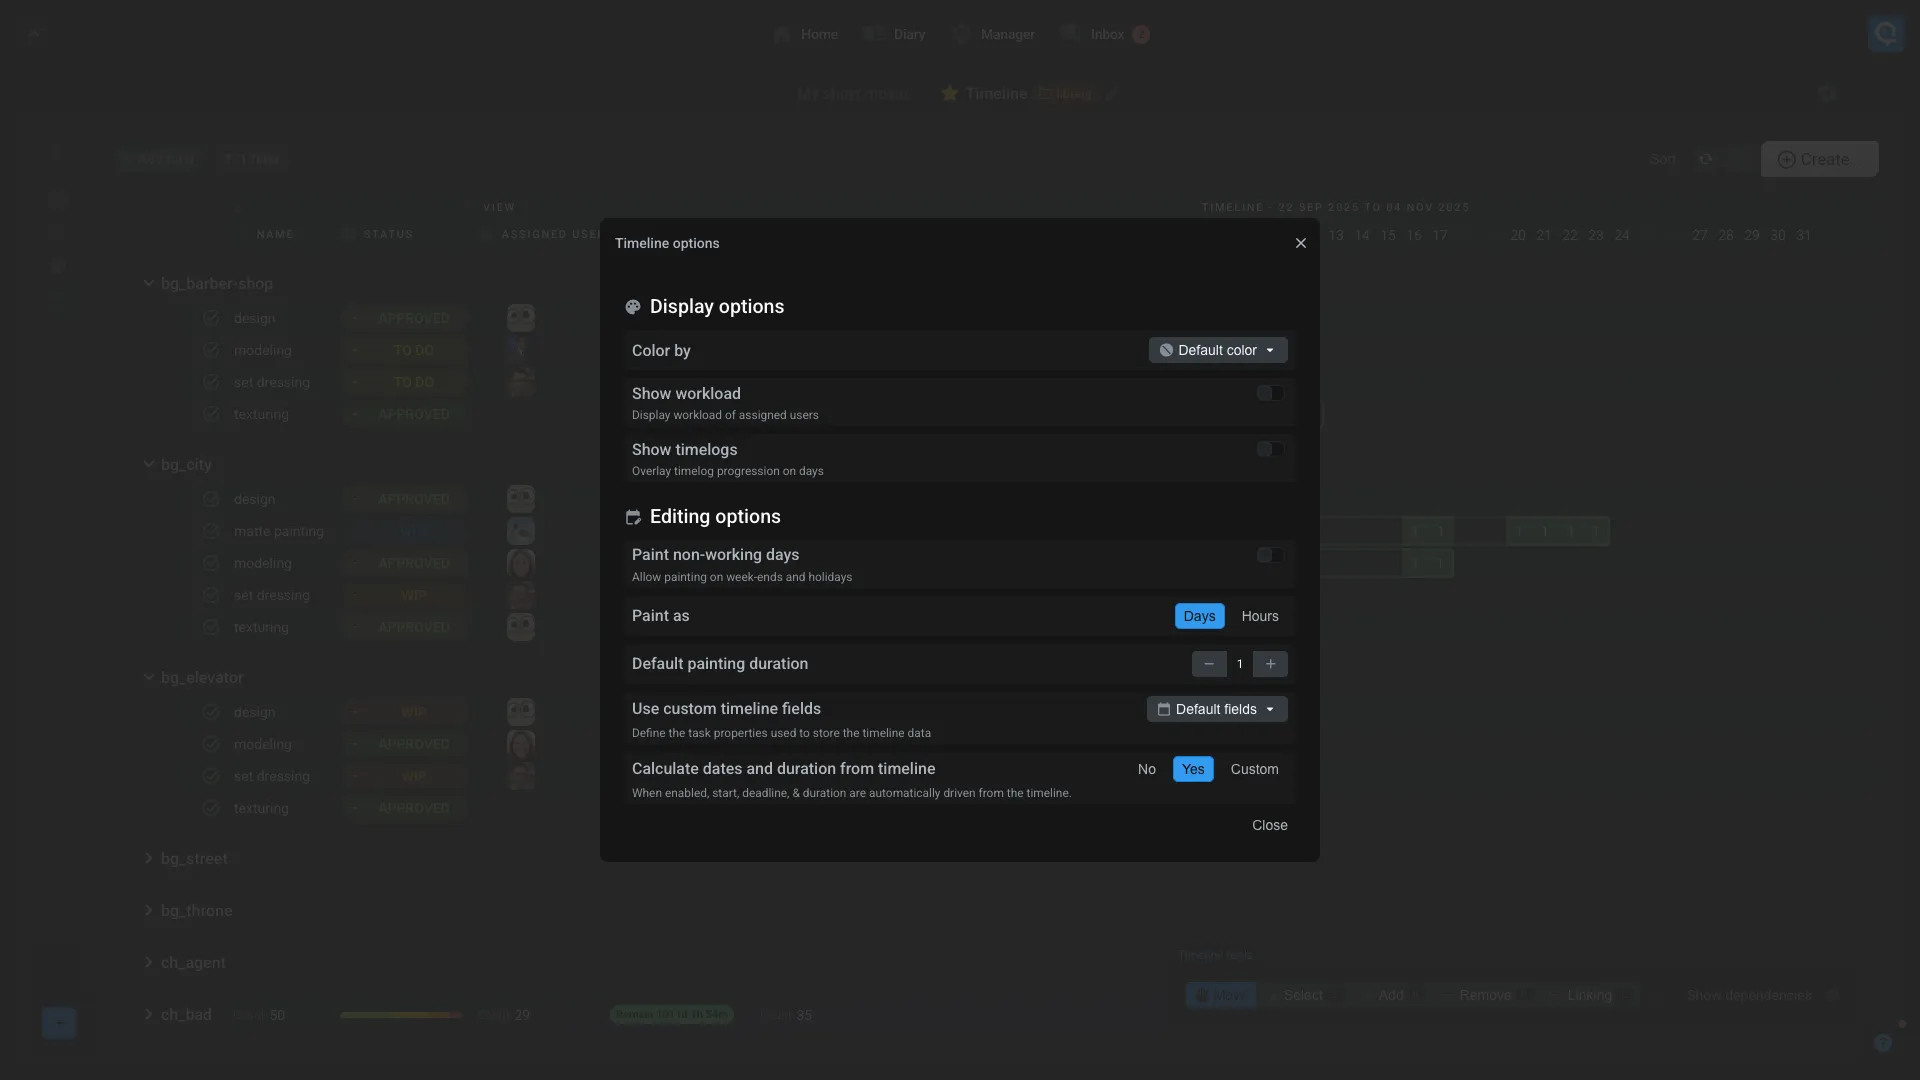
Color by: Choose the property used to color automatically the tasksShow workload: Display the workload for each task/dayShow timelogs: Display the timelogs for each task/dayPaint on non-working days: Allow painting on non-working days. Even if this option is disabled, you can still click on individual days to add/remove time assignments.Paint as: Choose the painting unit betweendaysandhours. You can switch between these two modes at any time, the already painted values will be converted automatically.Default painting value: Customize the default painting value. By default it's1 dayor1 hourdepending on the painting unit.Use custom timeline fields: See the description belowCalculates dates and duration from timeline: Automatically calculate dates and duration based on the timeline. See more details below.
Show workload
By pressing W or clicking on Show workload in the bufferzone, you can display the number of days or hours already assigned to assigned users for each days of the timeline. This is useful to see if a user is overloaded or not.
If the workload is too high, the cell will be colored in red. When you hover the cell, you will see the total number of hours assigned to the user for that day.
Show timelogs
By pressing J or clicking on Show timelogs in the bufferzone, you can display the number of hours already timeloged by the team. It's displayed as a progression bar on top of the cell. The information is also displayed when you hover the cell.
Use custom timeline fields
By default, the timeline is configured to edit the following properties of a task:
startdatedeadlineduration
However, you can customize these properties in order to create has many timelines as you want, for managing real / estimated schedules.
If you want to use the timeline for estimated schedules, you can use the preset Estimates fields that will use the following properties:
estimatedStartdateestimatedDeadlinebid(for the duration of the task)
Use the last preset called Custom fields to define your own properties.
Automatic calculation
When you paint time on the timeline, Aquarium can automatically calculate the start date, the deadline and the duration of the task. It's using the properties defined in the timeline settings.
By default, the calculation is set to Yes. Switch to No to disable the automatic calculation. In that case, when you paint time on the timeline, no data will be updated on the task.
However, depending on your workflow, you may want to disable the calculation of the duration. It's useful if you want to define a fixed duration for a task, and let the supervisor decide when the artist need to work on it (without changing the duration).
In that case, you can choose the Custom option, and disable the calculation of the duration.