Introduction
Like we explained in the introduction, the workspaces are like the Explorer on Windows, or the Finder on macOS: they are dedicated to display your project's items.
Workspaces works the same way in the focus or studio interface. The only difference is the way you access them.
| In focus interface | In studio interface |
|---|---|
 |
 |
| Workspaces are regrouped by need (assets manager, shots manager, ...) | Workspaces are regrouped by location. You need to go the the correct folder to be able to active the workspace you want. |
In both interfaces, you give you a quick access to your favorite workspaces. In the focus interface they are displayed in the left sidebar, and in the studio interface they are displayed above the active workspace.
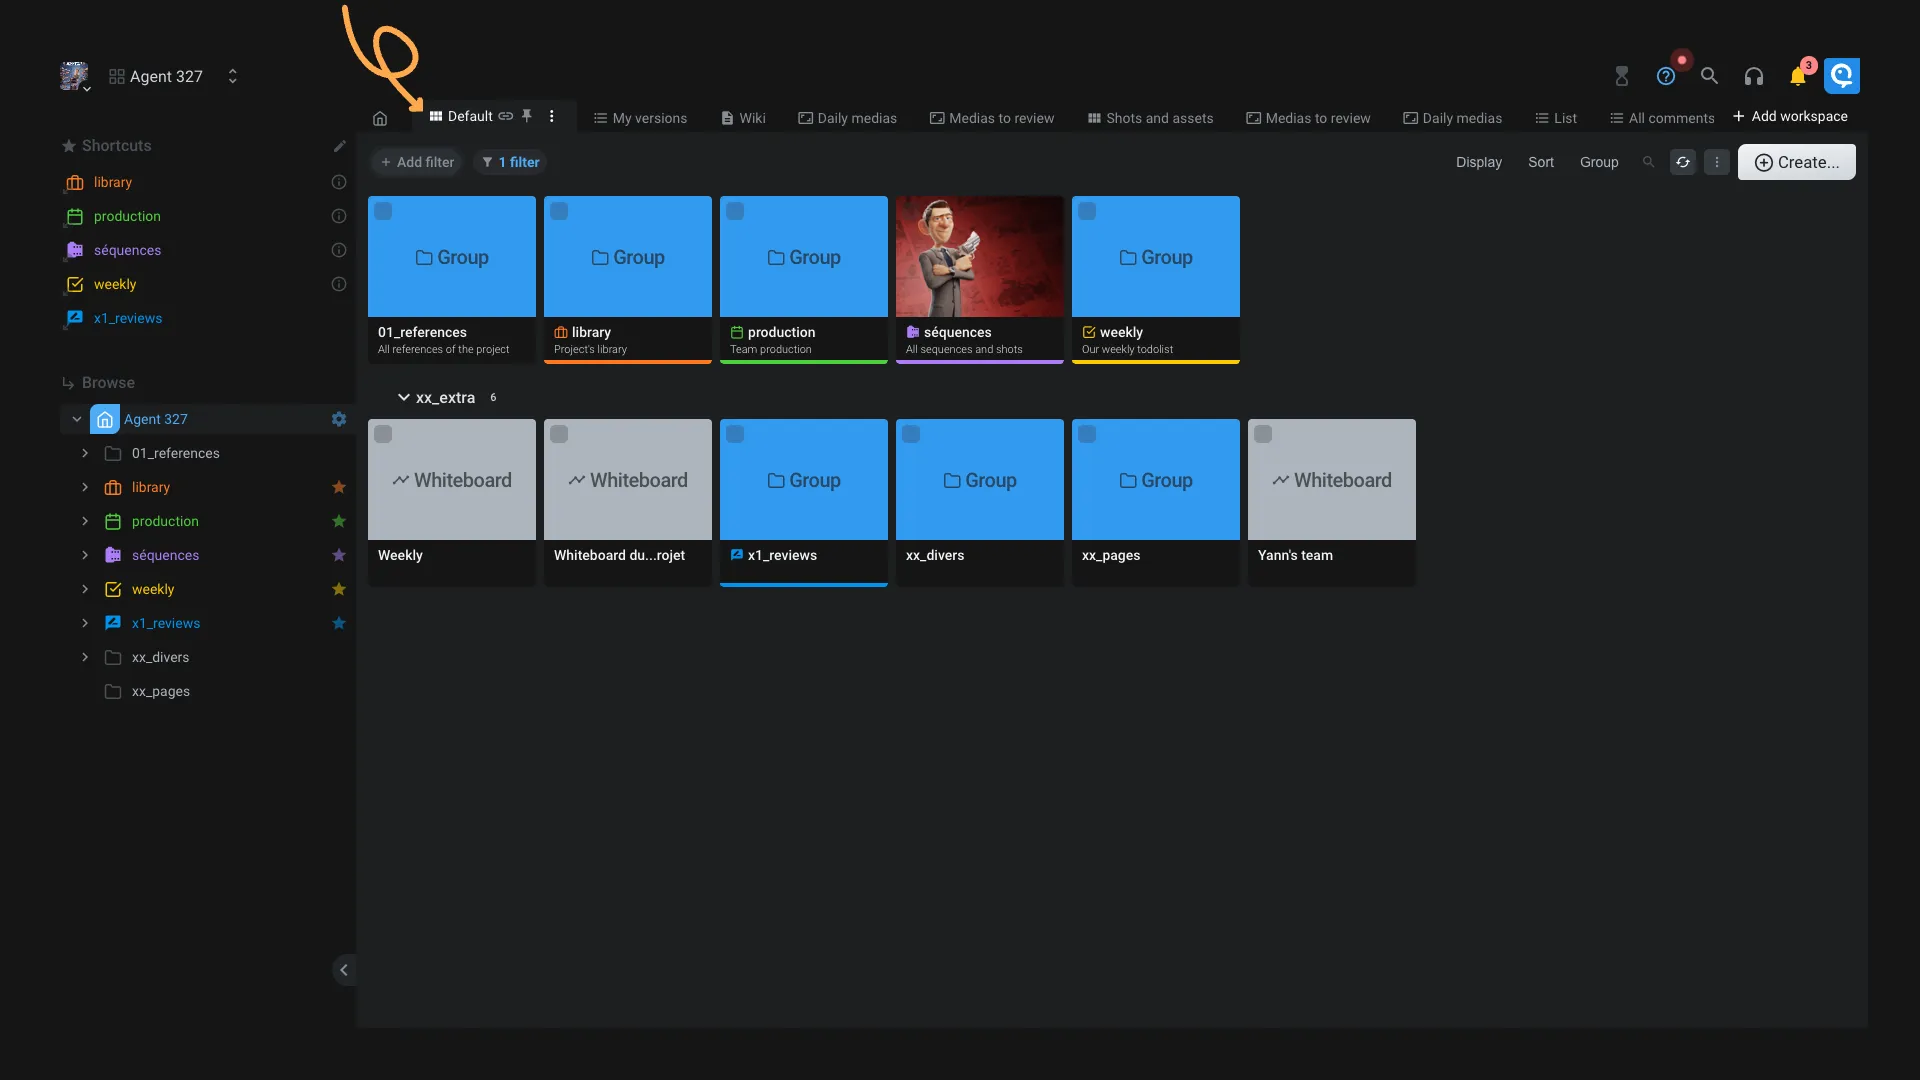
Workspace types
We created several workspaces, to fit specific project management needs : shots manager, assets manager, timeline, ... You can explore the rest of this section to learn more about each of them.
- Homepage
- Shots manager
- Assets manager
- Episodes manager
- Libraries manager
- Timeline
- Wiki
- Medias
- Review
- Activity
- Todolist
- Whiteboards
We created a short video that show you all those workspaces:
Options
All workspaces works quite the same way and have same options available:
Don't forget to save your workspace after editing it. The save button is located at the top right of the workspace, when a change is detected.
You can also enable auto-save in the menu.
If you don't have enough permissions to save the workspace, an error message will be displayed if you try to save it. Even if you can't save it, you can still temporary edit it and see the changes.
Discover what's a workspace and how to use it :
Those options are also accessible from the workspace editor.
Filter
You can filter any data you want, using our existing presets, directly from a cell of your table or using our Workspace nodal editor.
- When you click on a filter you can change the comparison operator (
is,is not,is empty, ...). - You can also temporarily disable a filter by right clicking on it, or in the menu.
- To completely remove a filter, click on it and then on the icon.
Grab a filter and drop it on another filter to create a group of filters. If you drop a filter on the x Filters element, it will convert your filter into a saved filter.
From presets
Presets are available under the Add filter button.
If you think a preset is missing, let us know, we can add it for you!
From cell
To filter based on the content of cells, right-click on a cell and select Filter [...]. You can also directly filter based on the item type using the Filter by type [...] option.
You can edit the filter to add more option, or filter other cell to narrow down your search.
From the nodal editor
You can also create a filter from the Workspace nodal editor. To do so, click on the icon and select Create your own filter....
Save filters
You can also save specific filters to re-use them later by clicking on " 1 filter". Filters can be created from the Workspaces application.
From the same menu you can define the search depth. It's an important concept, that can help you to unlock the full potential of the workspaces.
Depth
As a reminder, Aquarium is a nodal solution. It means that every item have a connection to another item.
Example
graph TD Project([Project: My short movie]) --> Group([Group: Sequences]) Group --> Sequence010([Sequence: s010]):::Sequence Group --> Sequence020([Sequence: s020]):::Sequence Sequence010 --> Shot010([Shot: s010_010]):::Shot Shot010 --> Layout([Task: layout]):::Task Shot010 --> Animation([Task: animation]):::Task Sequence010 --> Shot020([Shot: s010_020]):::Shot Shot020 --> K([...]) Sequence020 --> L([...])
Let's say you are at the root of your project and you want to display all the shots of the project.
Example
graph TD A([Project: My short movie]) --> Group([Group: Sequences]) style A fill:#ff922b,stroke:##e8590c,stroke-width:4px Group --> Sequence010([Sequence: s010]) Group --> Sequence020([Sequence: s020]) Sequence010 --> Shot010([Shot: s010_010]) Shot010 --> Layout([Task: layout]) Shot010 --> Animation([Task: animation]) Sequence010 --> Shot020([Shot: s010_020]) Shot020 --> K([...]) Sequence020 --> L([...]) subgraph Start point A end subgraph Depth: 1 Group end subgraph Depth: 2 Sequence010 Sequence020 end subgraph Depth: 3 Shot010 Shot020 end subgraph Depth: 4 Layout Animation K L end
To display all shots being at the root of the project, you will need to set the depth to 3.
The depth option allows you to display items that are not directly connected to the current item. It's a powerful tool to display a lot of data at once.
Please keep in mind that big depth values can slow down the workspace. In the previous example, it will be better to displayed all shots starting from the Group: Sequences and use a depth of 2 instead.
Display
Some workspaces have multiple display options like table or card.
If this option is not available, it's because the workspace only works with a pre-defined display.
Sort
You can choose in which order the items are displayed in the viewport. By default items are ordered alphabetically.
We provide sort presets in the sort menu, but you can also sort based on the content of columns. To do so, click on the column name and select sort or .
You can also create a custom sort from the sort menu, at the bottom, you can enter a meshQL query to sort your items.
Example:
item.data.name ASCoritem.data.custom_order DESC.
You can add multiple sort criteria by separating them with a comma.
Example:
item.data.name ASC, item.data.custom_order DESC.
More advanced sort queries are available, like path.vertices[-2].data.name ASC (to order based on parent name).
You can find more information on meshQL section.
Group
You can re-group your items based on certain criteria. You can pick a group preset from the menu and also create a custom group using the last option.
The custom group is based on meshQL queries, like the custom sort option.
Example:
item.data.typeoritem.data.custom_property.
More advanced group queries are available, like CONCAT_SEPARATOR(' / ', path.vertices[*].data.name) (to group based on parents name).
More options
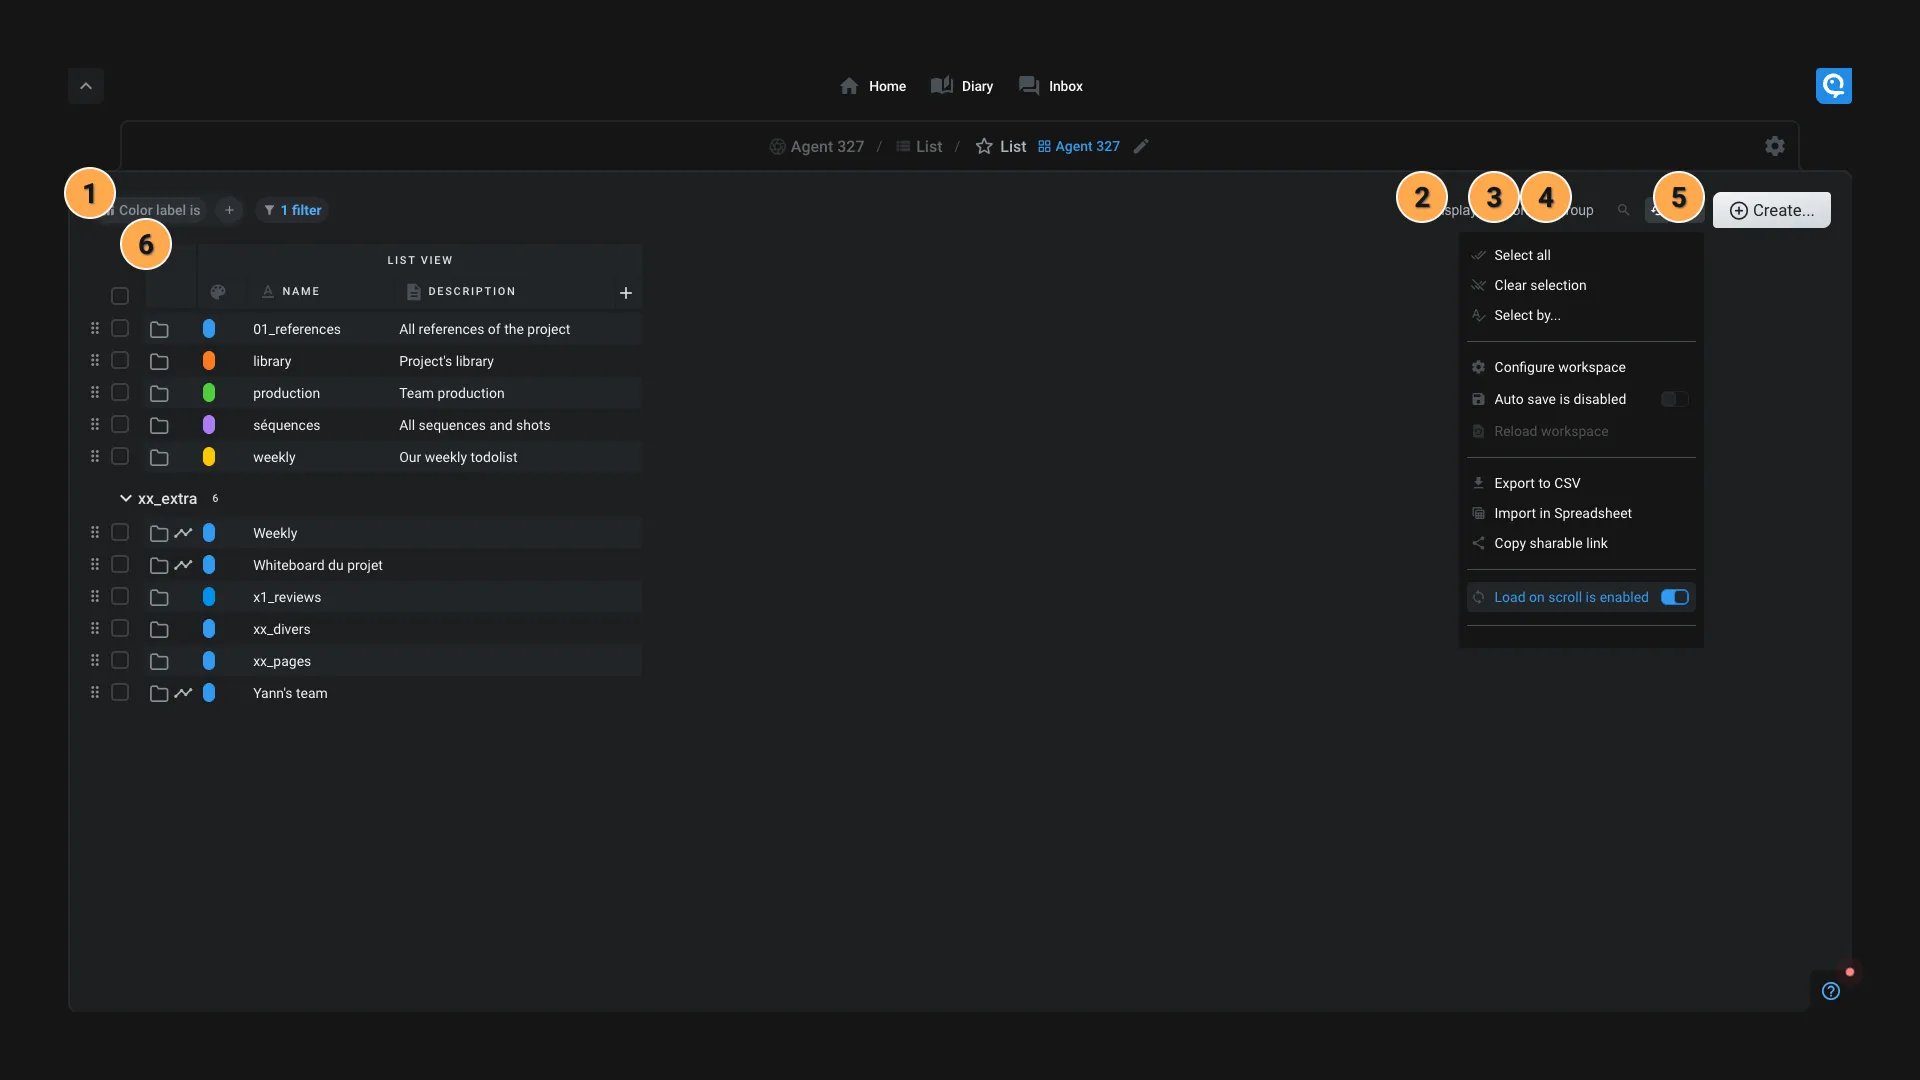
In the menu, more options are available:
- Select all: Select all items displayed in the workspace
- Clear selection: Clear the current selection
- Select by...: Select items based on criteria. You can also paste names from a spreadsheet that you copied.
- Configure workspace: Launch the workspaces application to edit it.
- Auto save is enabled: Enable or disable the auto-save feature. When enabled, all changes are saved automatically. The save button have a timer to show you when the next save will occur. Just over it to cancel the auto-save.
- Export table to CSV: Export the current workspace in a CSV file. The export will include all the items displayed in the workspace with their column data.
- Import in Spreadsheet: Copy in the clipboard a special function that you can paste in a Google Spreadsheet to import the data. Please refer to the Google Spreadsheet integration for more information.
- Copy sharable link: Copy in the clipboard a link to the current workspace.
- Browse trash...: Open the trash application to restore items.
Columns & views
If the workspace is compatible with the table display, views and columns are available.
Views
A view is here to regroup multiple columns together. You can add as many views as you want. You can also easily expand or collapse views to hide unnecessary columns.
You can click on the name of the views to edit it using the views application.
Columns
You can add or remove columns from the view, based on our presets or by creating a new custom columns by right-clicking on a cell and selecting Add column from property. Learn more in our how-to create a custom column guide.
If the display is a table, you can see at the bottom of the table the statistics of the column. Like how many items are displayed, what's the sum of the column or even the repartition of the statuses, priorities, etc.
It's a great way to quickly see the status of your project.
Bufferzone
The bufferzone is a special feature inside all workspaces, it's appear at the right bottom of the screen once you selected some items.
It's store your selection and allow you to perform actions on it. The actions depends on the workspace you are in. Here is some examples : open, copy, move, clone, trash, ...
Use the to lock your selection and keep it in the bufferzone event if you navigate to another workspace, project, folder, ...